Adding an Asset from the Manage Items Page
An asset is added to an asset item via the Assets form. This section explains how to add an asset from the Manage Items page via the Assets form.
Asset Properties
An asset generally:
- Has a value in the market,
- Generates revenue,
- Has a maintenance or calibration cost,
- Depreciates over time,
- Has a useful lifespan, and
- Has a salvage value.
Examples of assets include:
- Office furniture and fixtures
- Office vehicles
- Data servers
- Computer equipment
In IntelliTrack, asset properties include:
- Specific location
- Value
- Condition
- Assignee association
- Check out status
- Maintenance/Calibration date
Asset Number Field State
Depending on the Asset Auto-Numbering setting, the Asset Number field will be either in a locked state or an unlocked state when in Add mode.
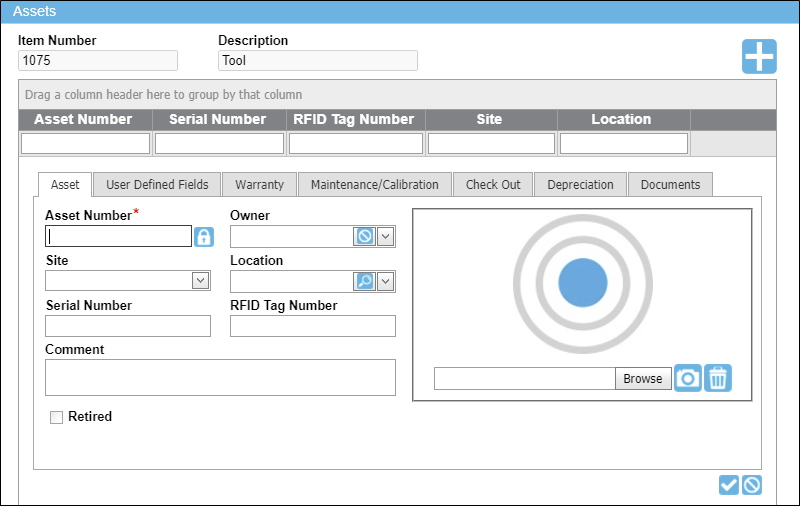
- Unlocked State: When Asset Auto-Numbering is off for the division, the Asset Number field is unlocked. This is because you must enter an asset number in this field.
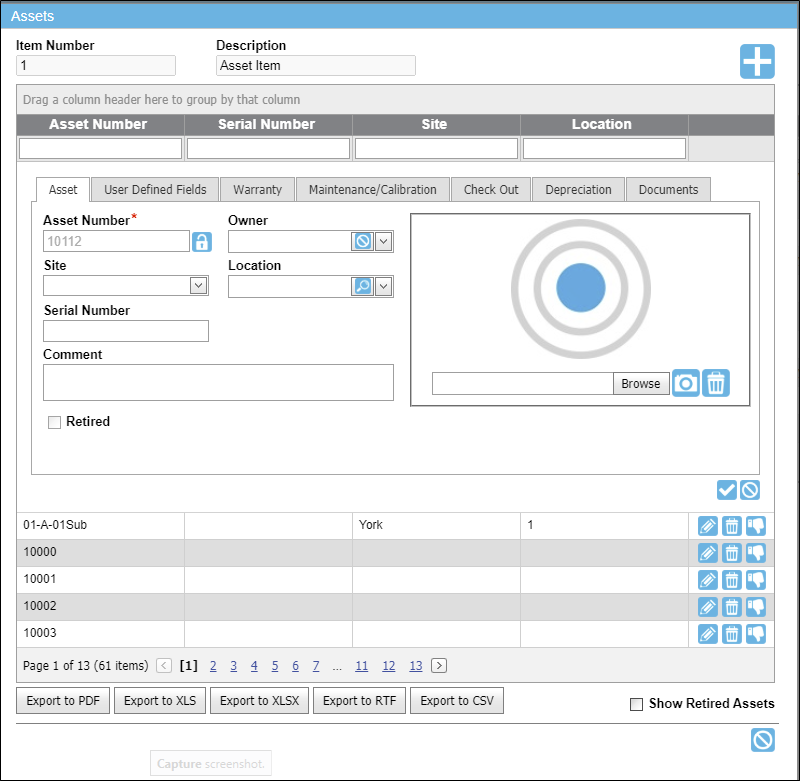
- Locked State: When Asset Auto-Numbering is on for the division, the Asset Number field is locked. This is because an asset number is automatically entered in this field.
How to Add an Asset from the Manage Items Page
An asset may be added to an asset item. To add an asset from the Manage Items page, please refer to the steps that follow.
- From the Manage Items page, select the Add Assets icon
 for the asset item to which you want to add an asset to.
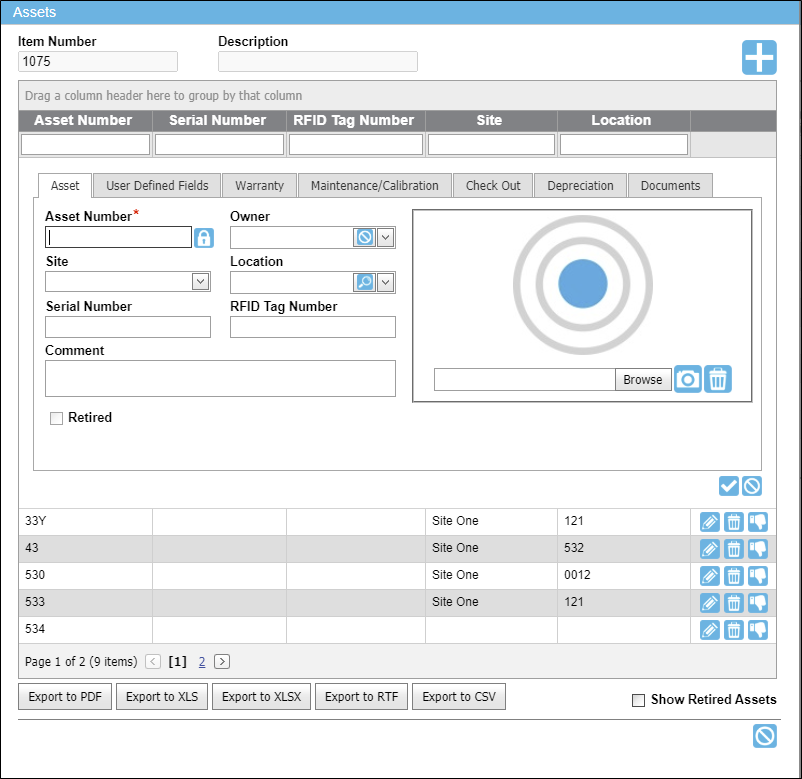
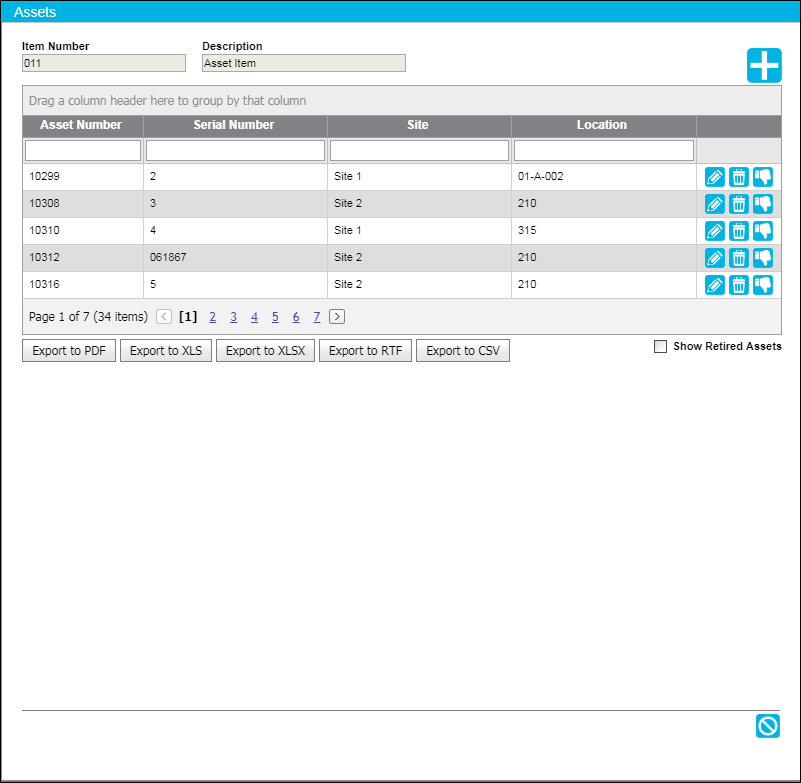
- The Assets form for this item appears.
- If the item does not contain any assets, the Assets grid is empty.
- Click the Add icon, which resides in the top right area of the form, above the Asset grid.

- The grid expands into Add mode.
- Asset Auto-Numbering OFF: The Asset Number field is in an unlocked state. You must enter a unique asset number in this field.
- Asset Auto-Numbering ON: The Asset Number field is in a locked state. The system automatically enters a unique asset number in this field.
- RFID is used in the division; Asset Item Uses RFID: The RFID tag number appears in the Assets form grid; the RFID Tag Number field appears in the Asset form when in Add mode or Edit mode.
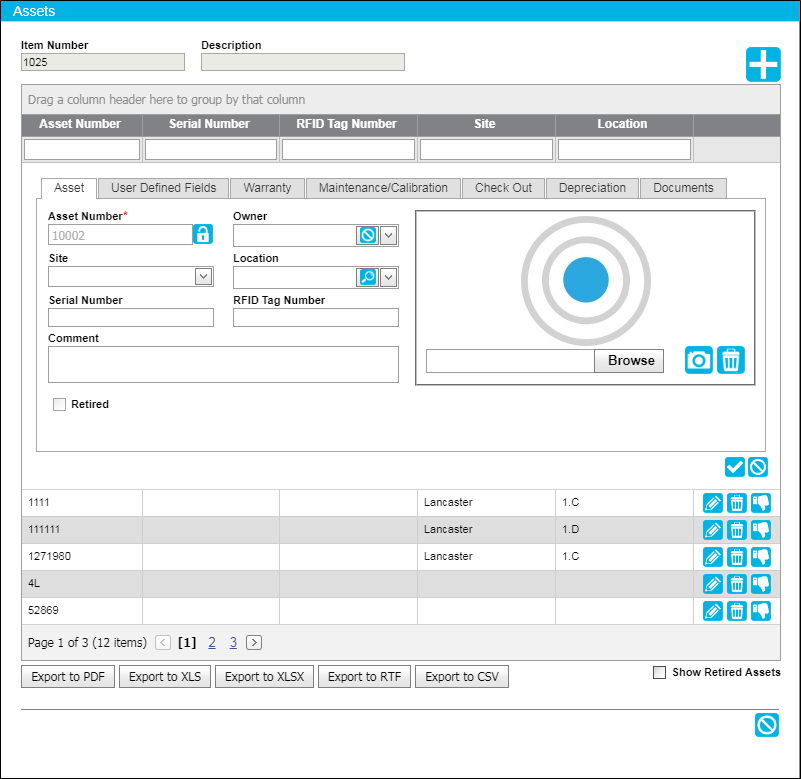
- It contains tabs for entering the asset's information.
- Asset tab: enter basic information about the asset in this tab; see "Asset Tab".
- User Defined Fields tab: enter additional or customized information about the asset at the fields available in this tab; see "User Defined Fields Tab" for more information.
- Warranty tab: enter warranty information for the asset at this tab; see "Warranty Tab" for more information.
- Maintenance/Calibration tab: enter maintenance information and calibration information for the asset in this tab; see "Maintenance and Calibration Tab".
- Check Out tab: this tab displays check out information about the asset; see "Check Out Tab".
- Depreciation tab: enter depreciation information for the asset in this tab; see "Depreciation Tab".
- Documents tab: upload relevant documents to the asset in this tab; see "Add Asset Form Documents Tab".
- To save the asset, click the
 Save icon. (To discard this information and cancel adding this asset, click the
  Cancel icon instead.)